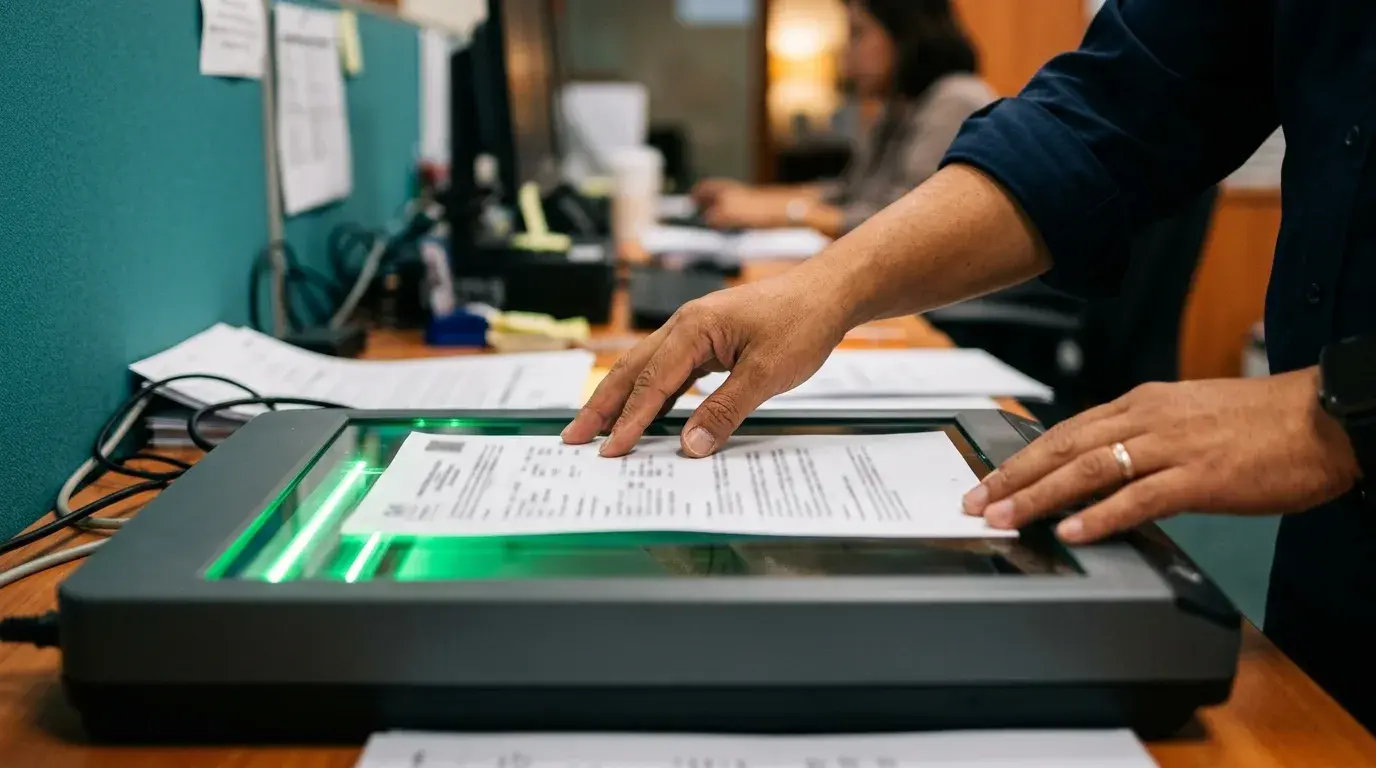
Short answer: A grayscale flight itinerary for a visa application is suitable only if the receiving service permits that format and every relevant field remains readable. Use the original issuer PDF when accepted, preserve all pages and status labels, and check the uploaded preview. If color is required or grayscale loses information, submit a faithful color copy instead. A successful upload does not confirm document acceptance or visa approval.
This guide addresses one narrow problem: loss of information when a genuine itinerary moves from color to gray. It is not a general compression guide or a rule that every visa centre converts documents to grayscale. Keep the issuer’s facts intact while testing whether the submission copy still communicates them.
Key facts
- Check color rules before converting; they differ by process and document type.
- Grayscale and one-bit black-and-white are different modes.
- A clear native PDF can avoid an unnecessary print-and-scan cycle.
- Never redraw names, dates, references or status labels to improve a scan.
- A scan-resolution setting is not a visa-acceptance guarantee.
- Keep source, final copy and upload confirmation separate and secure.
In This Guide
- What Gets Lost When Your Flight Itinerary Turns Grayscale
- Building a Flight Route That Holds Up Without Color
- Scanner Settings That Preserve the Issued Document
- Check the Submission Copy Without Guessing the Review Process
- Submit a Faithful, Readable Copy in the Required Format
- Practical decision workflow
- Frequently asked questions
Official-source check: The UK self-upload guidance requires complete, readable captures and describes the service’s accepted file formats. It is not the instruction set for every visa-centre portal. The U.S. NVC scanning instructions explicitly require color for that immigrant-visa process—an example of why grayscale cannot be prescribed universally. The European Commission’s Schengen overview explains consular jurisdiction; it does not require every itinerary to enter first through the processing country.
Reviewed for: color-loss checks, native PDF versus rescan, complete page capture, scoped official requirements, faithful reproduction and replacement-copy handling.
What Gets Lost When Your Flight Itinerary Turns Grayscale
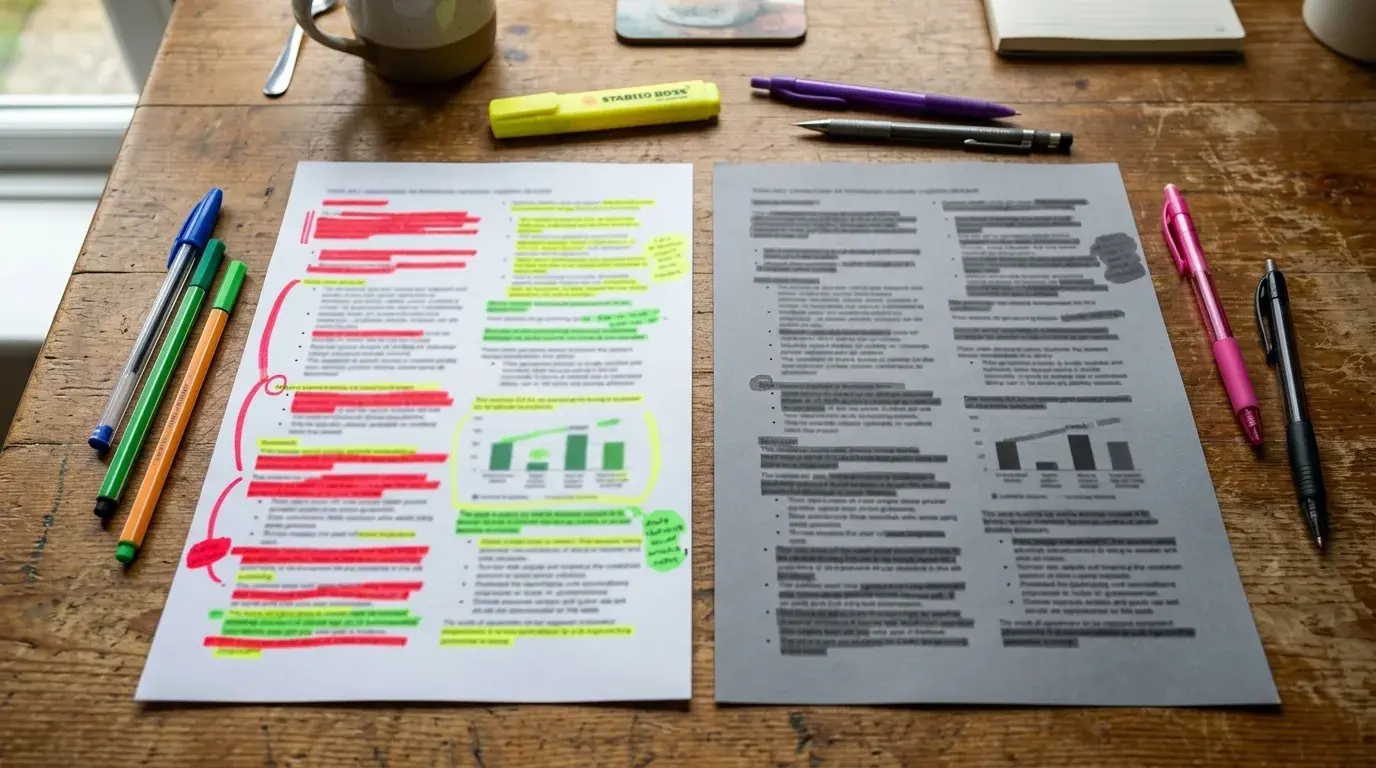
Grayscale removes color information, not necessarily fine print. The risk is that different colors become similar gray tones, reducing contrast or obscuring a distinction. Check whether the receiving process permits grayscale before making a conversion; do not assume every visa centre scans this way.
The Details a Visa Officer Must Still Read Clearly
A flight itinerary describes proposed travel. The relevant passenger, route and booking information must remain readable in the version you submit. If a character becomes ambiguous after conversion, treat that as a quality defect to resolve rather than something the reviewer should infer.
Check airline names, flight numbers and dates wherever the issuer places them. Dark text on a light background is generally easier to read, but you should not redesign an issued itinerary yourself. Ask the issuer for a clearer output if its template loses essential detail.
Check departure and arrival airports, local dates and local times for each segment. Where the itinerary includes IATA codes such as DEL and CDG, compare them carefully with the original. A three-letter code is useful information, not a universal standalone visa-document requirement.
Here is what should remain legible after scanning:
Airline information and flight name for every segment
The flight number beside each leg
The departure and arrival cities, each with its code
Departure dates, the arrival date and local times
Your passenger name, exactly as printed in the passport
The booking reference or reservation number
There is no universal ten-point minimum for visa itinerary text. Inspect the document at normal reading size and zoom in to check small fields. If the issuer’s original font is too small to remain legible in the required format, request a clearer version rather than enlarging selected characters yourself.
Why a Flight Reservation Can Survive Black and White
A text-based itinerary may remain clear in grayscale, but its layout still needs testing. Pale text, colored status labels and background graphics can lose contrast. The file format and actual rendering matter more than whether it came from an email or portal.
Some visa checklists accept a reservation or travel plan rather than a paid ticket; others have different evidence requirements. Check the applicable instructions before purchasing or converting a document. Image quality cannot make an unsuitable evidence type acceptable.
An itinerary is a presentation of travel details and may describe either a reservation or an issued ticket. A reservation is not necessarily ticketed, and an issued ticket does not itself guarantee a particular seat number or boarding. Preserve the issuer’s actual labels.
Do not buy a paid ticket solely because a grayscale copy looks weak. First establish the required evidence type and whether a readable original or regenerated document solves the problem. Neither a sharp scan nor a booking reference guarantees acceptance.
A non-refundable purchase can expose you to loss if plans change or a visa is refused, subject to its actual fare rules. Refundable products also have conditions. Review those terms separately from the question of scan quality.
A reservation may come from an airline or issuing agent, depending on the service and route. Ask for the actual booking document, verification method and any hold deadline. Do not assume that every service offers the same validity or document format.
The purpose is to preserve the genuine issuer document, not to make a reservation resemble a paid ticket. If a native PDF is available and the portal accepts it, use that file instead of introducing an unnecessary print-and-scan cycle.
Color Cues That Disappear in a Scan
Color-only distinctions can disappear in grayscale. Green, yellow and red elements may become similar gray tones, but visible words can still communicate their meaning. Check the status text itself rather than assuming every colored badge will become unreadable.
Fix this before you scan. Open the document and look for these weak spots:
Status words printed in light green or light blue
White text on a dark or colored header bar
Watermarks sitting behind the flight lines
Thin gray borders around the booking reference
If a grayscale paper copy is required or permitted, test one page before scanning the whole set. Compare it with the original. A weak print may remain weak in the scan, so correct the printing or obtain a better source before proceeding.
Do not type a darker status over the issuer’s label or change reserved to confirmed. Request a clearer issuer-generated version if an essential label cannot be read. Color conversion may change appearance; it must not change the facts.
Why Margins and Footers Are the First Casualties
Printer scaling, scanner crop detection and page placement can clip edges. There is no single safe margin that works with every device. Inspect all four edges, especially any footer containing a booking reference or page number.
Use the printer and scanner preview to keep the complete document within the page. Avoid placing it partly outside the scan area or cropping substantive content. If the template itself runs important text off the page, request a corrected issuer export.
Check footers for issue dates, reference numbers, page counts and issuer notes. Preserve those fields even when they look secondary. A footer is part of the document; it is not something to remove simply to reduce file size.
Also avoid folding the paper before scanning. A fold creates a dark stripe that can run straight through a flight number. Print flat, keep it flat, and scan it straight away. Once the page is clean and the edges are safe, the route itself becomes the next thing to test.
Building a Flight Route That Holds Up Without Color
Check the original itinerary before scanning. A clear reproduction preserves errors as clearly as correct information. Resolve genuine route or date mistakes through the issuer, then make a faithful copy of the current version.
Preserve the Actual Exit Plan, Not an Assumed Round Trip
Travel evidence can support the proposed entry and exit plan when required. It does not prove that a traveler will leave, and a round-trip booking does not guarantee a favorable visa decision.
The required evidence depends on the destination and visa category. A return flight, onward journey or documented land exit can have different roles. Do not turn a genuine one-way or open-jaw plan into a fictional round trip for a scan.
Keep the actual outbound and exit legs clear, whether they share a booking reference or use separate records. One reference is not a universal visa requirement, and separate bookings are not inherently invalid. Show the connection between the documents when needed.
A one-way itinerary alone does not determine a visa outcome. If the checklist requires exit evidence, supply the appropriate genuine evidence for the actual plan. A grayscale conversion must not conceal an omitted return or onward leg.
Check local departure and arrival dates, including overnight changes. Keep the full page so that a cropped header cannot remove the context. Do not relocate or rewrite dates on the issuer’s document; use a separate explanation if a timeline needs clarification.
An onward route may end in a country other than the traveler’s home country. Show the genuine route and the evidence requested for that journey. Do not invent a homeward flight simply to make the itinerary appear symmetrical.
Making the Route Match Your Main Destination
The route should be compatible with the declared purpose and destinations. Entry through another city or country can be legitimate; it does not automatically mean the application belongs there. Describe the actual connections and stays rather than changing them to fit an assumed rule.
In a hypothetical example, Emily Carter travels from Mumbai for a Paris stay and returns to Mumbai afterwards. The scan should preserve the same local dates and airports as her original reservation. If the journey connects elsewhere, those segments should remain visible rather than being cropped out to simplify the page.
For a multi-country Schengen trip, use the official rules to identify the competent consulate. The European Commission’s overview points to the main destination and, where stays are equal, first entry. The flight does not have to land first in the country processing the application merely to make the scan look consistent.
Follow the actual France-Visas or service-provider instructions for your application. Do not assume every applicant uploads the same documents through the same portal. Whatever the accepted submission route, the copy should reproduce the genuine itinerary accurately.
A simple route can be easy to read, but a genuine complex route should remain complete. Do not omit a connection, change an airport or collapse several dates merely to fit fewer lines on the page.
Handling Layovers and Connection Times Without Confusion
Layovers add lines, and extra lines add risk on a scan. A trip from Delhi to Madrid with a connection in Dubai shows two segments, each with its own flight number and times.
There is no universally suitable two-to-four-hour connection. Check the airline’s connection conditions, terminals, baggage arrangements and any immigration requirements. A long layover can be legitimate and should be represented honestly.
Check that the first segment lands before the second one departs. Time zones cause mistakes here, so read the local times with care.
The departure airport need not be in the traveler’s home city. If an airport transfer or positioning leg matters to the declared plan, explain it in the supporting itinerary where appropriate. Do not describe Pune residence and Mumbai departure as an identity or address mismatch by themselves.
Keep each segment in order and check transit requirements for the actual passport and route. If transit permission is needed, address it directly; a clean scan does not remove that requirement. Any explanatory labels should remain separate from the issuer’s original content unless the issuer generates them.
Names, Codes and Booking References That Must Match Exactly
Check the passenger identity against the passport and the issuer’s name-formatting instructions. Joined spaces or transliteration conventions are different from a typing error. Have the issuer correct a genuine error; do not predict rejection from formatting alone.
Where a booking reference is supplied or required, keep it fully legible. Some evidence types and checklists use other identifiers or travel-plan information. Do not claim that every embassy requires a six-character PNR for every itinerary.
A booking reference identifies a record in a particular airline or agency system; formats and retrieval methods vary. Label and preserve the actual reference without guessing that every code is a universal GDS key.
Use genuine evidence and do not invent identifiers or flight details. Misrepresentation can have serious consequences under the applicable rules. A working lookup alone does not establish that the document belongs to the applicant or satisfies all visa requirements.
A temporary flight reservation may be suitable where the checklist allows it. Keep its status and validity description intact. Do not present an unticketed reservation as an issued ticket or a scan as proof that a booking remains active.
The reservation should reflect the actual intended travel and applicable evidence requirements. Check its terms and any deadline with the issuer. Clear reproduction and current booking facts are separate checks.
Read the reference character by character after scanning, especially O/0 and I/1. There is no universal twelve-point reference requirement. If it cannot be distinguished in the finished file, improve the source or rescan rather than retyping the code onto the page.
Scanner Settings That Preserve the Issued Document
Good content can still fail at the glass. A few simple choices before you press scan decide whether your reference stays crisp or fades away.
Resolution, Contrast and File Format
For ordinary text, 300 dpi can be a useful test setting, not a worldwide visa rule. Use any resolution specified by the receiving service. Check legibility and file size together; increasing resolution cannot recover detail already absent from a poor print.
Grayscale preserves shades, whereas one-bit black-and-white uses only two tones. A hard threshold can erase pale text. Use grayscale only where permitted and where it retains all relevant information; use color when required or when removing color loses meaning.
A scanner’s text preset may improve readability, but inspect the result because presets differ. Avoid filters that replace characters, erase marks or over-sharpen text. Prefer a better source and a faithful rescan to selective retouching.
Choose a file type accepted by the actual portal. PDF can keep multipage documents together, but it is not the only accepted format in every system. Opening a PDF does not itself reduce quality; repeated exports, image conversion and aggressive compression can.
Read the exact file-type, size, page and color instructions. Some processes have separate rules for passports, photographs and supporting records. Do not apply an itinerary preference to biometric photos or identity documents, and do not assume one upload error automatically cancels an appointment.
Choosing Between a Flatbed Scanner and a Phone Scan
A flatbed scanner can keep a paper page evenly lit and flat. A phone may also work when the receiving service accepts such captures. Choose the method that produces a complete, readable and compliant file rather than treating a device type as a guarantee.
Phone scanning apps work too, but they need care. Place the page on a dark, flat surface in daylight. Hold the phone parallel to the page and keep your hand's shadow away from the text.
Avoid filters that tint the page or alter characters. If grayscale is permitted, compare that output with the color original before using it. Check all corners and curved edges so that perspective distortion does not obscure text.
Test the itinerary first, but do not automatically reuse its settings for every other document. A passport, photograph, stamp or certificate may have different color and format requirements. Apply the relevant rule to each evidence type.
A Quick Proofing Routine Before You Upload
Open the finished file, not only the scanner preview. Read it at normal size, then zoom in to inspect ambiguous characters. A 200-percent view can help diagnose defects, but it is a practical check rather than an official acceptance threshold.
Read the booking reference aloud, character by character, against your original.
Confirm that every flight number and IATA code is sharp.
Check the four corners for cropped text or shadows.
Look for stripes, folds, or dark edges that cross a line of text.
Confirm the passenger name against the passport scan.
If a line is unreadable, improve the original print or rescan. Do not reconstruct letters, redraw a code or remove an issuer mark. Routine permitted rotation or faithful file preparation is different from changing the document’s contents.
A second viewer or device can reveal rendering problems, but readability on a phone does not guarantee how a visa system will display the file. The most relevant additional check is the portal’s actual uploaded preview, when one is provided.
Keep the original issuer file and the submitted copy securely, with names that identify their roles. A clear naming system helps avoid sending an older scan when a replacement is requested.
Bring paper copies only as required or allowed by the appointment instructions. A printout of an electronic itinerary is not a paper original in every context. Keep the current issuer file available through a secure, permitted backup method.
Keeping the Scan Consistent with Your Hotel and Insurance Papers
Compare the itinerary with the other documents actually required for your file. These may include accommodation, insurance, a form or a cover letter, but not every application asks for the same set.
Check that dates are logically compatible rather than mechanically identical. An after-midnight arrival can require the previous hotel night; insurance can cover a wider period. Explain genuine differences instead of modifying correct dates for visual uniformity.
Build a short grid to keep everything aligned:
- Local flight dates and the intended entry/exit timeline.
- Actual accommodation nights, including any explained transit or host stay.
- Insurance coverage meeting the relevant requirements.
- A supporting plan that explains genuine date differences.
If the travel plan changes, identify which documents are affected and obtain legitimate updates. A clearer scan of the same document is different from a new itinerary with changed dates. Record that distinction when replacing evidence already submitted.
Aim for readability across the file, not identical scan settings. Preserve required color and document-specific features. A mixed color/grayscale set can be correct when the receiving instructions call for different treatment.
Check the Submission Copy Without Guessing the Review Process
You cannot infer every internal review step from the upload interface. What you can control is a complete, readable reproduction, truthful travel information and compliance with the stated submission rules.
Keep Readability and Evidence Consistency as Separate Checks
Compare the reservation with the intended trip and required supporting records. A sharp scan can still contain incorrect dates, while a genuine correct document can be too blurry to use. Resolve each problem at its source.
Use these questions for your own review, without assuming they are an officer’s complete checklist:
- Does the copy identify the correct traveler?
- Are the actual local dates and segments readable?
- Does the route agree with the declared destinations and purpose?
- Is the evidence type and format appropriate for this application?
A complex route can be legitimate. Check that the actual connections and stays are explained where needed, rather than imposing an arbitrary maximum number of stops or one hotel night per city.
Consistency means the documents describe the same traveler and compatible plans. It does not require the same date on every page: document issue dates, flight dates, hotel nights and insurance periods can differ legitimately.
Readable copies and organized documents support review, but they do not prove eligibility. Do not rely on a presentation technique as a substitute for the evidence requested by the authority.
Preserve Authenticity When Improving Readability
Do not use grayscale to conceal an alteration, cancellation label, watermark or other substantive mark. The task is to reproduce the genuine document faithfully, not to hide aspects that may affect its meaning.
The authority may verify evidence or request clarification under its own procedures. Do not assume a single lookup detects every problem or that every scan defect is fraud. Keep the original available and explain legitimate conversion or correction steps accurately.
Use the issuer’s genuine document and follow the permitted preparation process. If a booking fact changes, request an updated issuer document. If only readability is poor, rescan or re-export faithfully without changing the facts.
Separate factual correction from technical preparation. The issuer should correct a wrong passenger name or itinerary; you can prepare a compliant copy only without misrepresenting that content. Neither action guarantees a visa outcome.
Responding When the Center Asks for a Clearer Copy
If asked for a clearer copy, respond to the stated problem and deadline. The request alone does not reveal whether there are other questions about the application or what decision will follow.
Where accepted, provide the original digital issuer file instead of a screenshot of an already degraded scan. If a scan is specifically needed, start with the best available original and check the complete output.
If only legibility is being corrected, preserve the same booking facts. If the underlying reservation has changed, obtain current issuer evidence and explain that separate change. A correction does not always require a new reference.
A factual reply might say: “Attached is a clearer copy of the same itinerary; its passenger, route and dates are unchanged.” Mention a scan resolution only if you actually used it and it is relevant. If facts changed, say so instead of calling it merely a clearer copy.
Final Checklist for a Grayscale Submission
Run through this list on the day before your appointment. Each item protects a different part of your file:
- The original itinerary reflects the actual intended trip.
- Each passenger, flight, airport, date and reference is legible.
- All pages, edges and issuer notes are preserved.
- Color requirements for this document type have been checked.
- File type and size meet the receiving system’s instructions.
- The uploaded preview matches the prepared copy where available.
- The source and submission record are securely retained.
This review can catch avoidable defects before submission. It cannot guarantee that no further document request will be made. Keep the source and final copy so that any later question can be answered accurately.
Submit a Faithful, Readable Copy in the Required Format
The itinerary should be accurate and its submission copy should preserve that accuracy. Grayscale is an option only when the receiving instructions permit it and no relevant information is lost. If color is required, use color regardless of whether a gray version looks clear.
Check the original, the converted file and the uploaded preview where available. Keep the complete document, verify the actual submission status, and retain the issuer file privately. A clear scan supports review; it is not proof of acceptance or approval.
A Color-Loss Test With Three Possible Outcomes
Do this only after checking the receiving instructions. Keep the original untouched and compare a test copy beside it. The question is not whether the page looks attractive in gray. It is whether the same information can still be read, in its original context, without inventing or hiding anything.
| Result | What it means | Next step |
|---|---|---|
| Every relevant field remains clear, and grayscale is permitted | The conversion passes your readability check. | Check the complete final file and uploaded preview; retain the original. |
| Text is visible, but color carried a distinction that is now lost | The copy does not faithfully communicate all relevant information. | Use an accepted color version or ask the issuer for a clearer document. |
| Reference, dates, status or page edges become ambiguous | The copy has a quality defect. | Improve the source or rescan; do not reconstruct characters. |
| The instructions require color | Readability alone does not satisfy the format rule. | Submit color, even if a gray copy looks readable. |
Check a fixed set of fields in every version
Compare the passenger block, each segment’s local dates, airport names or codes, flight numbers, status wording, reference and issuer notes. Inspect page boundaries and any continuation page. A faint warning or expiry note matters as much as a bold flight number. If the original is itself unclear, ask the issuer for clarification before treating a sharper scan as a solution.
For example, a hypothetical itinerary has a green confirmed label and a pale red notice that ticketing is still pending. In grayscale, the warning becomes too faint to read. Darkening only the confirmed word would misrepresent the document. The correct response is a faithful color copy where accepted, or a clearer issuer output that preserves both status statements.
Distinguish a preview problem from a source problem
If your local file is clear but the portal preview is not, check the portal’s displayed instructions and whether you selected the intended file. Where replacement is permitted before submission, try a compliant export and inspect it again. Do not keep uploading multiple contradictory versions or assume the thumbnail is the final document. If the service offers no readable preview, retain your submitted file and confirmation, and use its help channel for unresolved questions.
If a file-size limit is the actual obstacle, use the separate visa booking upload-size guide. Keep that decision separate from whether color can be removed. For the underlying evidence choice, see the flight-reservation planning guide. A travel-day printed-proof request has a different purpose; the DummyFlights document-type explanation does not replace the relevant airline or destination rules.
Keep a small submission record
Record the source filename, final submitted filename, portal category, submission time and confirmation provided. Note whether you changed only technical format or also received an updated itinerary from the issuer. Store these records privately: a booking reference and surname can reveal itinerary information, and a public compression or conversion website may receive the full document if you upload it.
Need a clearer issuer document? Ask the existing provider for a readable export first. If your application requires a new reservation, confirm the passenger, route, dates and current validity terms before ordering.
Review visa reservation optionsFrequently Asked Questions
Do all visa centres accept grayscale itineraries?
No universal rule applies. Check the instructions for the exact service and document type. If color is required, a legible grayscale copy does not satisfy that requirement.
Should I print and rescan an original PDF?
Not unless the process requires it or there is another genuine need. When accepted, the original issuer PDF avoids an extra conversion that can reduce clarity.
Is 300 dpi mandatory for every visa scan?
No. It can be a useful test setting for ordinary text, but the receiving service’s actual requirements govern. Check the finished file for readability and permitted size.
Can I type a darker booking reference over a faint scan?
Do not reconstruct or overwrite issuer information. Improve the source, rescan faithfully or ask the issuer for a clearer document.
What if a color status warning disappears in gray?
Do not use a conversion that loses relevant information. Use an accepted color version or request a clearer issuer output preserving the warning and other status details.
Does an upload confirmation prove the scan is accepted?
No. It records a technical submission, not a decision on document sufficiency or the visa. Check any preview and follow later requests through the official process.
Friendly reminder: BookForVisa provides travel-proof documents for planning and visa-application support. Requirements vary by destination, consulate, visa category and applicant situation. A flight reservation can support a file, but it does not guarantee approval, boarding or entry.