Do You Need a Flight Reservation for F-1 Visa? (2025 Guide for Indian Students)
You don’t need a paid ticket to win an F-1 visa interview. What you do need is a clear, believable arrival plan, often secured through a dummy ticket for flexibility. We’ve helped students across India plan smarter by holding a verifiable, flexible itinerary that fits the 30-day early-entry window, the I-20 start date, campus orientation, and housing move-in. This keeps your answers crisp if the officer asks when and where you’ll land, and it protects your budget while you wait for biometrics, the interview, and passport return. For more tips on visa preparation, check our FAQ or explore detailed guides in our blogs.
You also avoid routings that trigger extra UK or Schengen transit visas. A real PNR you can pull up in “Manage Booking” shows you’re organized without prepaying. In the next sections, we’ll show exactly how to set up that low-risk hold and stay interview-ready. Ready to lock a verifiable itinerary for your interview? Book a dummy ticket in minutes. Learn about our team's expertise on our About Us page.
Yes — submitting a flight reservation for your F-1 visa can strengthen your application by showing clear intent to travel for academic purposes. While the U.S. Embassy and consulates do not require a fully paid ticket, they often recommend providing a verifiable flight itinerary that matches your I-20 form and SEVIS details. A dummy flight reservation with a real Passenger Name Record (PNR) from BookForVisa.com helps demonstrate legitimate travel plans without the financial risk of buying non-refundable tickets before visa approval.
Last updated: October 2025 — verified against current U.S. Embassy and SEVIS documentation guidelines for F-1 student visa applicants.
Table of Contents
Planning an F-1 visa application requires careful attention to details like travel itineraries, which can make or break your interview confidence. Many students overlook the importance of a flexible proof of onward travel, leading to unnecessary stress. By using a dummy ticket, you can demonstrate intent without financial risk, aligning perfectly with U.S. embassy guidelines. This approach not only saves money but also ensures your story remains consistent throughout the process. As you prepare, remember that resources like our blogs offer in-depth articles on similar topics to bolster your application.
How A Verifiable Itinerary Strengthens Your Case
You are not expected to buy a ticket for the F-1 visa. You are expected to know how and when you will land. A live, checkable itinerary gives you that clarity without committing money. Need a flexible hold while you wait for approval? Try our dummy ticket booking today.
Expanding on this, a verifiable itinerary isn't just a formality—it's a strategic tool that showcases your preparedness. For instance, during peak application seasons, consular officers review hundreds of cases daily, and a well-documented travel plan can set you apart. It demonstrates that you've considered logistics like jet lag recovery and initial campus setup, which are crucial for international students transitioning to life in the U.S. According to official U.S. Department of State guidelines on student visas, proof of intent to depart is key, but it doesn't require full payment upfront—making tools like dummy tickets ideal for this stage. Learn more from the U.S. State Department.
What Officers Actually Want To Hear
When an officer asks about travel, they are checking for a realistic, well-planned arrival. They want to see that your plan fits the 30-day early entry rule, your I-20 start date, and key campus events. A verifiable PNR helps you answer in one line, confidently, with dates and airports that make sense.
To delve deeper, officers are trained to spot inconsistencies that might indicate weaker intent. By preparing responses tied to verifiable elements, you reduce red flags. For example, referencing specific orientation sessions from your university's calendar adds authenticity. This preparation extends beyond the interview; it helps with post-approval logistics like coordinating with international student offices.
Try phrasing like this: “I plan to arrive in the week of 12 August, within the 30-day window, via New York JFK to Boston for orientation.” It is simple. It matches your documents. It signals readiness.
Tie Your Arrival To I-20, Orientation, And Housing
Build backward from your I-20 start date. Check mandatory orientation and housing move-in. Many Indian students arrive 10 to 14 days before classes. That leaves time for jet lag, banking, SIM activation, and campus onboarding.
Further, consider cultural adjustment factors unique to Indian students, such as sourcing familiar groceries or connecting with diaspora groups upon arrival. Universities often provide resources for this, but arriving early allows you to tap into them effectively. Budget an additional day for potential delays in public transport from the airport to campus.
Create a mini timeline:
- I-20 start: 26 August
- Mandatory orientation: 19–21 August
- Housing key pickup: 18 August afternoon
- Target arrival: 15–16 August
Your held itinerary should reflect that target week. Keep a one or two-day buffer for weather or missed connections.
Keep Your Story Consistent Across SEVIS, DS-160, And I-20
Small mismatches create avoidable questions. Make the following consistent:
- Name order and spelling across the SEVIS fee receipt, DS-160, I-20, and the itinerary
- Date of birth and passport number on the booking profile
- Intended week of arrival inside the 30-day window
Consistency is even more critical in light of SEVIS updates, where discrepancies can trigger additional scrutiny. Regularly sync your documents using a checklist app or shared note with advisors to catch errors early.
If your university issues a revised start date, refresh the hold to the new week. Save the updated email confirmation. Consistency reduces friction at the interview window.
Show Route Smarts Without Prepaying
A credible itinerary is not about fancy cabins. It is about sensible routing, layovers, and first port of entry.
For Indian applicants, keep it clean:
- Prefer nonstop India to the U.S. when available, or a single legal transit that does not require an extra visa
- Avoid the UK and certain Schengen hubs if you do not hold the required airport transit visa
- Choose a first U.S. port of entry that handles your CBP checks smoothly, then connect domestically to the campus city
Planning realistic connection times:
- International to international: at least 2 to 3 hours
- International to first U.S. entry with CBP and baggage recheck: 3 to 4 hours
- Terminal change or separate tickets: add more buffer, or avoid separate tickets altogether
Match the arrival airport to campus access. For example, for Amherst or Providence, arriving at JFK or BOS is usually more logical than flying into Miami and crossing the country. Factor in seasonal variations, like summer thunderstorms at East Coast hubs, which can extend CBP processing.
Keep Costs In Check While You Wait
You may face 221(g) administrative processing, or simply a longer passport return. Do not prepay a nonrefundable fare. Use a hold or a refundable fare to lock an indicative price and seat availability. If the hold expires, recreate it for the same week. This keeps your plan alive without a financial trap.
Smart cost habits:
- Track fares from two or three Indian gateways like DEL, BOM, BLR, HYD
- Identify two U.S. gateway options that connect well to your final city
- Set a ceiling fare you will not cross, then wait for visa issuance to ticket
Additionally, monitor currency fluctuations between INR and USD, as they can impact final costs. Tools like fare alert apps can notify you of dips without commitment.
Build A “Show If Asked” Folder
You rarely need to show a reservation. If requested, you should be able to prove it in seconds. Prepare a simple folder:
- Email confirmation with your name and PNR
- Screenshot of the airline “Manage Booking” page that displays the same PNR
- A short note of your connection times and arrival date window
Avoid homemade PDFs or anything that cannot be seen in the airline system. If the PNR is visible in “Manage Booking,” your plan is verifiable. Digital backups on cloud storage ensure accessibility even if your device fails.
India-Specific Pitfalls To Skip
A few traps catch first-timers every season. You can sidestep them with small adjustments.
- Tight European transfers that require an airport transit visa you do not hold
- Separate tickets on different airlines where bags cannot be through-checked
- Arriving the night before orientation with no time for SIM, banking, or housing check-in
- Booking a late evening domestic connection after your first U.S. entry, then missing it due to CBP queues
Choose single-ticket itineraries whenever possible. If separate tickets are unavoidable, leave generous buffers and confirm baggage policies in writing. Indian students often face monsoon-related delays from DEL/BOM, so build in extra international buffer during July-August.
A Simple Script For The Window
Walk in with calm, concise lines. You will sound prepared and genuine.
- “I plan to arrive 12 to 14 days before classes, which start on 26 August.”
- “My itinerary is Delhi to New York JFK to Boston. The connection is three hours, which meets the minimum after immigration.”
- “I will confirm and ticket after visa issuance. I am currently holding a refundable option to align with campus housing.”
Short sentences. Solid logic. Verifiable if asked. That is the goal. Practice with a mirror or friend to deliver naturally under pressure.
When To Purchase For Real
Once your visa is approved and the passport is back, double-check orientation, housing access, and any assistantship dates. Then ticket the same routing or a better fare in the same week. Add student baggage benefits, meal requests, and seat selection. Share your arrival with your department or pickup volunteer.
This approach keeps you organized, protects your budget, and shows the officer you planned like a serious student. You did not overcommit cash, and you did not leave timing to luck. Post-purchase, review airline policies for changes in case of unforeseen university schedule shifts.
👉 Order your dummy ticket today
Work Backward From Your I-20: Timelines, Buffers, And India-Specific Moves
Good planning starts from your I-20 date and flows outward. When you map the steps in reverse, your itinerary choices get easier and cheaper. Keep your plans within the 30-day entry window—book a dummy ticket now.
Reverse engineering your timeline ensures alignment with not just academic deadlines but also personal milestones like family goodbyes or final exams in India. This holistic view prevents overlaps that could derail your departure.
Map Your 30-Day Window Like A Pro
Your arrival must be within 30 days before the I-20 start date. That window is your canvas. Paint in the fixed points first, then place your flight.
Start with three anchors:
- I-20 program start
- International orientation dates
- Housing key collection or lease start
Aim to land 10 to 14 days before classes. That gives you time to settle and fix surprises. If orientation is earlier, shift your target earlier within the same 30-day window. Keep a two-day buffer for missed connections or weather. Visualize this with a calendar app, color-coding visa milestones against travel dates.
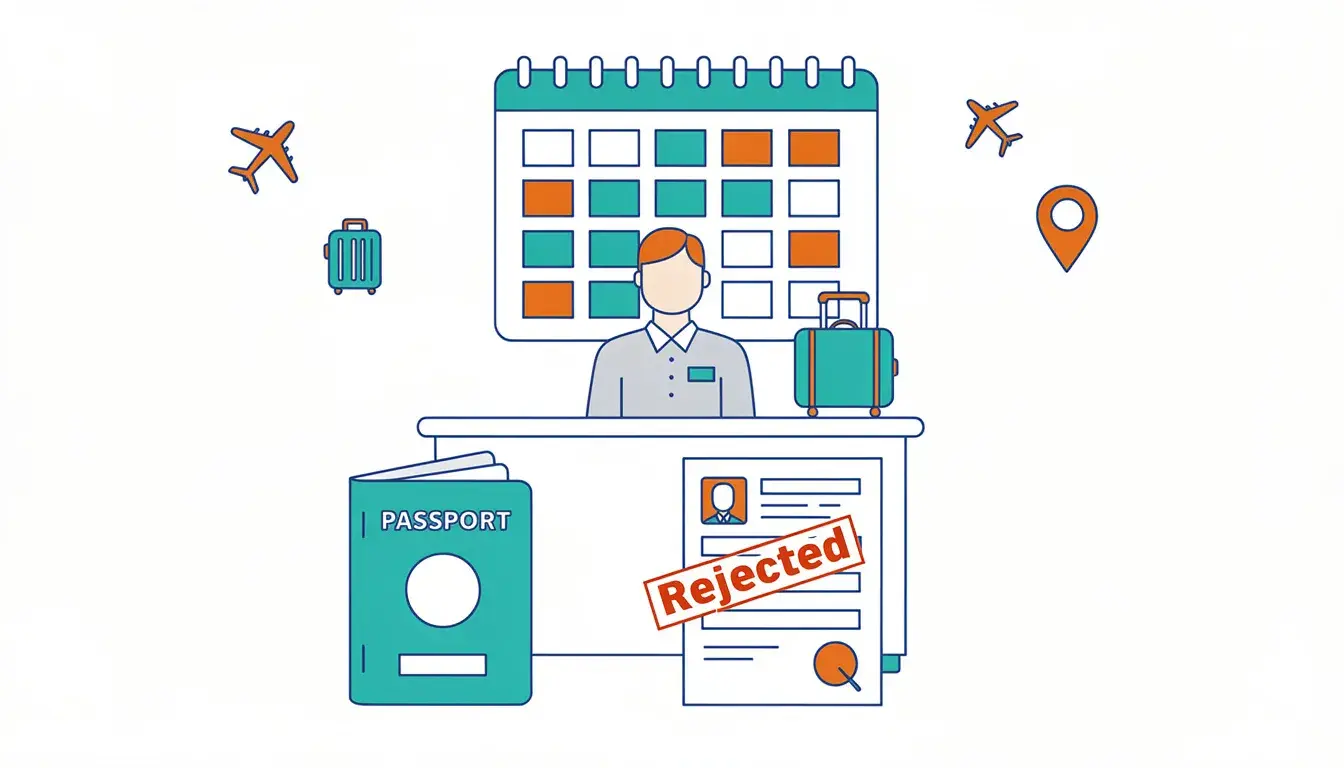
Protect Yourself From Timing Crunch: VAC, Interview, Passport
India’s sequence matters. You book VAC biometrics, attend the visa interview, then wait for passport return. Do not squeeze your flight into this week. Give yourself breathing room.
A simple rhythm that works:
- VAC biometrics early in the week
- Visa interview two or three days later
- A buffer of 7 to 10 days after the interview for passport dispatch or pickup
- Intended flight window begins after that buffer
If your city faces seasonal backlogs, widen the buffer. Recreate your hold if needed. You stay calm and you avoid last-minute rebooking fights. Track application status via the official portal to anticipate delays.
Pick Routes That Skip Extra Transit Visas
Many students accidentally pick hubs that need extra paperwork. Keep your routing clean so you focus on the F-1 outcome, not a transit complication.
Here is a smart filter:
- Prefer nonstop India to U.S. when available
- If you need a connection, choose hubs that do not require a UK or Schengen airport transit visa for your passport type
- Single-stop itineraries beat double stops for reliability
- Avoid separate tickets across different airlines unless you have no choice
If you do use Europe, verify whether your itinerary needs an airport transit visa. When in doubt, switch to a hub that does not. A clean route is worth more than a small fare drop. Research hub-specific rules via airline FAQs for accuracy.
Land Where Campus Life Starts
Think about your first week on campus. You will open a bank account, get a SIM, attend orientation, and move in. Your arrival airport should make those steps easier.
A quick decision tree:
- If the campus city has a practical international airport, fly there
- If not, choose a U.S. gateway with frequent domestic links to the campus city
- Check if the university runs airport shuttles on specific dates
- Time your landing to match housing key pickup hours
Share your arrival day with seniors or student groups. Many campuses coordinate informal pickups. You will feel settled faster and spend less on last-mile transport. Apps like Uber or Lyft estimates can help budget this leg.
Make U.S. Connections Less Stressy
Your first U.S. airport is where you clear immigration and recheck bags. Plan connection times that respect reality, not just minimums.
Use these working ranges:
- International to domestic after immigration and baggage recheck: 3 to 4 hours
- Terminal change or large airports like JFK, EWR, ORD, LAX: lean toward 4 hours
- Winter weather or evening arrivals: add extra padding
If your domestic leg is the last flight of the day, consider an overnight near the airport with a morning connection. You protect the rest of your plan from a long immigration queue. Pre-download airport maps for quick navigation.
Build A Micro-Timeline You Can Actually Follow
Turning plans into dates helps you act. Write a simple micro-timeline and keep it visible.
Example for a late August start:
- 15 June to 5 July: gather financials, pay SEVIS, confirm orientation
- 6 to 12 July: schedule VAC and interview, place an initial hold for mid-August arrival
- 20 July: check housing access dates, adjust held itinerary if needed
- Interview week: keep the hold alive or recreate it at the same price point
- After approval: ticket the same routing within your target week
Small reviews every Sunday keep the plan current. If a date shifts, refresh the hold and file the new email. Integrate this with your academic planner for seamless tracking.
Luggage, Student Perks, And Seasonal Price Spikes
Your baggage needs can drive routing and airline choice. Plan this before you pay.
Smart checks:
- Compare student baggage allowances and fees on your short list of airlines
- Weigh the cost of one extra bag versus shipping a box after you arrive
- Avoid peak spikes around Indian festivals or late August rush by placing an early hold in your target week
Carry essentials in your cabin bag. Keep your I-20, SEVIS receipt, university contacts, and a one-night kit handy. If your checked bags misconnect, you can still reach campus and sleep well. Research duty-free allowances to maximize carry-on space.
Domestic Hops After Landing: Choose Convenience Over Glamour
Do not chase a slightly cheaper domestic leg that forces a risky dash. Pick reliability.
Good signs:
- Same airline or partner through-ticketing from India to the campus city
- Enough time between flights for immigration and bag recheck
- Multiple daily frequencies on the domestic segment
If the campus is two hours from a major gateway by bus or train, compare that ground option with a tight 40-minute flight. Sometimes the ground ride wins on both price and stress. Amtrak or Greyhound schedules can offer cost-effective alternatives.
Keep Documents Singing The Same Tune
Your travel story must match across papers. Align these details:
- Name order and spelling on the reservation, passport, SEVIS receipt, DS-160, and I-20
- Intended week of arrival within the 30-day window
- Arrival airport that makes sense for your campus
If the university emails a revised orientation schedule, update your held itinerary the same day. Save the email and the new confirmation. Consistency speaks for you at the window. Use version control in file names for easy tracking.
Before You Click “Buy”
When the visa is issued and the passport is back, take one last pause. Confirm three things:
- Orientation and housing access still match your landing day
- Your routing avoids transit visa traps
- You have enough buffer for weather and evening connections
Then ticket the plan. Add student benefits, seat selection, and any special meal. Share your arrival with your department or pickup group. You are set to start strong. Double-check weather forecasts for your travel week.
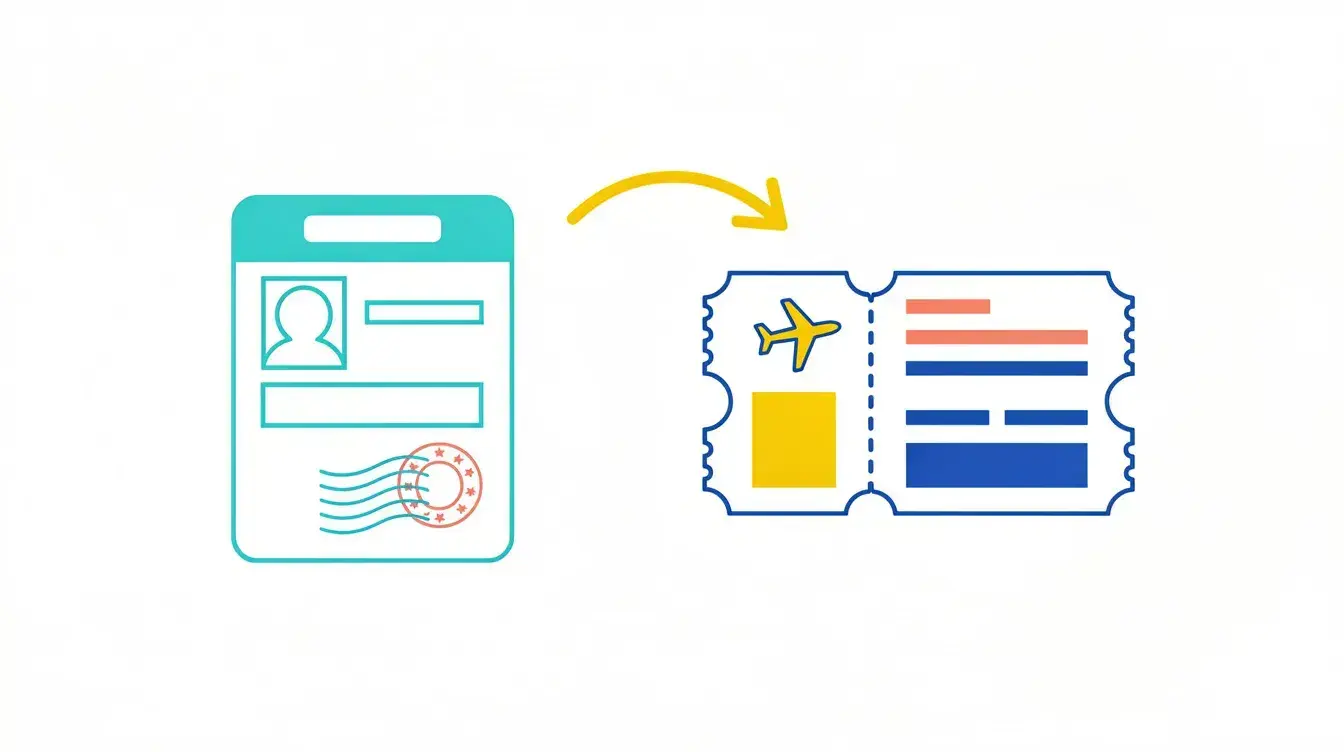
Build A Low-Risk, Checkable Reservation—Without Prepaying The Fare

You want proof of a plan, not a prepaid mistake. The sweet spot is a live PNR you can show if asked, aligned to your I-20 dates, and easy to adjust while your visa moves through the usual steps in India. Show a live PNR without prepaying—start a dummy ticket booking and stay interview-ready.
This method aligns with best practices for non-immigrant visas, where flexibility is prized over commitment. It allows you to adapt to evolving circumstances, such as family emergencies or academic rescheduling, without penalty.
What “Low-Risk” Really Means For An F-1 Applicant
Low-risk means a hold or refundable fare placed on an airline or major OTA, visible under “Manage Booking,” and matching the program start date listed on your Form I-20. It supports your student status narrative without locking cash. If the consular officer asks about timing, you can point to a plan that fits orientation and housing while meeting student visa requirements. It is also defensible if immigration services review your visa application and request additional documents later.
For context, reliable dummy ticket providers book you with major airlines like Air India, Emirates, or Qatar Airways. That keeps the itinerary verifiable in the airline system while you wait for a decision. These partnerships ensure global standards of reliability, crucial for embassy scrutiny.
Create A Hold You Can Prove In Seconds
Start with routes that fit the program start date and your campus city. Search normal fares, then choose either a refundable option or a timed hold. Capture the PNR and save the email.
Your quick checklist:
- PNR appears in airline Manage Booking with your name, flights, and end date that falls within your 30-day entry window.
- Passenger details match your valid passport and the confirmation page from DS-160.
- Connection times are realistic for first U.S. entry and bag recheck.
- Screenshots saved as backup in case your inbox filters the following documents into a folder.
If your interview slips or you hit 221(g), recreate the hold for the same arrival week. That protects your budget while the visa process runs its course. Automate reminders to check hold validity weekly.
Keep Every Detail Consistent With Your Campus Docs
Consistency beats fancy routing. Align name order, DOB, and arrival week with your SEVP-certified school records. If your international office updates orientation, refresh the hold the same day. This helps visa applicants answer cleanly and keeps your nonimmigrant status story straight across the student and exchange visitor systems, often called the exchange visitor information system in older guidance.
Cross-check these items:
- Form I-20 dates: program start date and program end date.
- University email about check-in and full course registration.
- Any note tied to curricular practical training or later optional practical training plans, which can affect when you enter the United States or finalize housing.
For transfer students, ensure the new I-20's dates override old ones in your planning.
India-Focused Routing That Dodges Transit Visa Surprises
Your goal is a clean one-stop to your campus region. Avoid hubs that require extra paperwork for foreign nationals. If you lack a UK or Schengen transit permission, choose alternatives where you can simply connect and continue. This matters for international students in peak months, when rebooking can be messy.
Good practice:
- Prefer single-stop itineraries and through-checked baggage.
- If a tight European transfer risks a missed flight, shift to a Gulf hub.
- Keep the first U.S. port of entry sensible for onward links to your academic institution.
If you studied at a previous institution in another country, ensure your new routing lines up with your current degree program and campus access dates during the academic year. Consult Indian embassy advisories for transit updates.
Budget Discipline While You Wait On Outcomes
Holds let you protect indicative pricing without paying full fare. Track two or three Indian gateways, compare U.S. arrival cities near campus, and set a ceiling fare until you hold a valid visa. If timing slips, refresh the plan. Do not buy nonrefundable tickets early, even with a low-cost airline, because change penalties pile up during visa renewal or administrative processing.
Have a simple money lens:
- Tuition and living expenses first.
- Airfare next, with room for a reprice.
- Keep proof of sufficient funds handy, since some airports and carriers ask during check-in.
Allocate a contingency fund of 10-15% for unexpected fees.
What To Show If Anyone Asks
Most officers won’t ask for proof of flights. If they do, show the live PNR on the airline site, not a homemade PDF. A dummy flight ticket, legal for embassy applications, still needs to surface in the airline system. Keep one printed page in your folder and a screenshot on your phone. That’s usually enough for clarity and national security screening norms at the window.
Practice pulling up the page quickly to demonstrate ease.
Tie-Ins To Rules You Already Follow
Your reservation should complement, not complicate, the rest of your file:
- It supports your non-immigrant student intent under F and M visas.
- It fits the application process you started with standardized test scores and the application fee.
- It won’t conflict with homeland security checks, customs enforcement at first entry, or campus rules on when you can attend school.
- If your plan includes off-campus employment later under temporary employment categories or post-completion OPT, your arrival still lines up with onboarding today.
For niche paths like a language training program or vocational program, make sure your tentative arrival supports that educational program’s check-in window. Review SEVIS FAQs for program-specific nuances.
Trust BookForVisa.com If You Want A Fast, Verifiable Hold
When time is tight, you can use BookForVisa.com to generate a live, checkable PNR designed for visa use. You receive an instant PDF, a verifiable record in the airline system, and unlimited date changes for final travel plans. At $15 (≈₹1,300), it’s a small, predictable spend while you wait on outcomes. We also support short-validity options suited to interviews or in-person submissions. You stay flexible until you ticket for real. Our service integrates seamlessly with your existing documents for hassle-free updates.
Sanity Checks Before You Ticket
Before purchase, confirm four things: your valid Form I-20 dates, that you’ll enter the United States within the 30-day window, that your passport has an expiration date beyond your first academic year, and that your segments allow you to make connections. If anything shifts, adjust the hold. Once approved, ticket the same routing and prepare to depart the United States later on time at program completion.
This is how foreign students keep order: verifiable plan now, payment later, and zero drama at the counter. Finalize with a mock run-through of airport procedures.
Interview-Ready: Sound Organized, Spend Smart, Stay Flexible
You do not need a paid ticket to pass the interview. You do need a calm, believable plan that fits your I-20, your campus dates, and your budget. This section shows you how to present that plan with confidence. Align your arrival with orientation and housing; book a dummy ticket when you’re set.
Mastering the interview involves more than facts—it's about projecting reliability. Rehearse with timed sessions to build poise, incorporating pauses for officer questions.
Lead With A One-Line Plan, Then Stop Talking
Open with a clean sentence, then wait for the next question. Keep it specific and short.
Try these:
- “I plan to arrive 12 to 14 days before classes, via Delhi to Boston through New York.”
- “My I-20 starts on 26 August, orientation is the week before, I will arrive in that week.”
- “I am holding a flexible reservation that I can ticket after approval.”
You answer what matters, you do not overshare, and you let the officer drive the follow-up. Body language matters—maintain eye contact and a relaxed posture.
If They Ask About Proof, Show Live, Not Loud
You rarely need to show anything. If asked, present a live PNR on the airline website. Avoid home-edited PDFs.
Have this ready:
- Email confirmation that shows your name and PNR
- Screenshot of the airline “Manage Booking” page
- Dates that sit inside the 30-day early entry window
Keep one printout in your folder and the screenshot on your phone. You can prove your plan in 15 seconds. Ensure your phone is charged and data-enabled.
Keep Your Story Aligned Across All Papers
Your reservation should support, not contradict, your file. Match the arrival week to the I-20. Use the same name order everywhere. If your university shifts orientation by a few days, refresh the hold the same day and save the new email.
Do a five-point check the night before the interview:
- I-20 start date and your intended week of arrival
- Orientation or department check-in dates
- Housing key pickup hours
- Airport choice that makes sense for the campus
- Connection times that allow immigration and bag recheck
A printed checklist prevents oversights.
Handle Curveball Questions With Simple Logic
Officers sometimes test how well you have thought it through. Keep answers practical.
- “Why not buy the ticket now?”
“I plan to purchase after approval to avoid change fees. I am holding a flexible itinerary for the correct week.” - “Why this route?”
“It avoids transit visas, gives a three-hour connection at first U.S. entry, and arrives two days before housing opens.” - “What if the visa is delayed?”
“I will extend or recreate the hold for the same week. I am not locked into a nonrefundable fare.” - “What if you miss the connection?”
“There are multiple later flights to the campus city. I also have a same-day bus as backup.”
Short answers beat long stories. You show planning, not panic. Anticipate based on common forums like Reddit's r/f1visa.
Build A One-Page Travel Sheet You Can Carry
You will feel calmer if your plan fits on one page. Print it and keep it on top of your folder.
Include:
- Route and flight numbers
- First U.S. port of entry and connection time
- Campus address and local transport plan
- Housing check-in window
- A backup option if the last connection is missed
Add university contact details and your Indian phone number. If asked, you can point to facts, not memory. Laminate for durability.
Protect Your Budget While You Wait
Holds are your friend. They protect an indicative fare without locking cash. If your interview moves or you face administrative processing, recreate the hold. Keep the same week and routing if possible.
Smart money habits:
- Compare two Indian gateways, for example Delhi and Mumbai
- Track one or two U.S. gateways that connect well to your campus
- Avoid separate tickets unless you must, since baggage often cannot be checked through
You stay flexible, and you avoid paying change penalties before you even hold a visa. Use budgeting apps to forecast total costs.
Choose Arrival Days That Actually Work On Campus
Landing on the right day saves time and stress. Aim for weekdays when offices are open and shuttles run.
Good patterns:
- Midweek arrival for easier immigration queues and cheaper fares
- Afternoon landings that match housing desk hours
- Avoid very late-night domestic connections after your first U.S. entry
If your campus runs an airport shuttle on specific dates, target those dates in your hold. Share your landing time with student volunteers or seniors who offer pickups. Coordinate via WhatsApp groups for real-time updates.
What To Do Immediately After Approval
Do not sprint to buy. Take one quiet hour, then tick through this list.
- Reconfirm orientation, department check-in, and housing access
- Check that your passport is back in hand or ready for pickup
- Ticket the held itinerary or buy the best fare in the same week
- Add student baggage, seat selection, and any meal requests
- Share arrival details with your department and pickup contact
Save final e-tickets in email and on your phone. Take a fresh screenshot of “Manage Booking.” Notify family of exact timings.
Stay Sharp For Arrival In The U.S.
Your first U.S. airport is where you clear immigration. Keep your I-20, admission letter, and campus address in your hand luggage. Answer briefly and clearly when asked about your program, campus city, and onward connection.
If a delay risks your last domestic leg, contact the airline while you wait at immigration. Many airports have multiple later flights. If not, plan to stay near the airport and take an early morning connection. Enroll in airline apps for real-time alerts.
Common Slip-Ups You Can Avoid Today
A few mistakes cost money and time. Skip them.
- Buying a nonrefundable fare before the interview
- Using separate tickets that break baggage check-through
- Choosing a route that requires an extra transit visa, you do not have
- Arriving the night before orientation with no housing access
- Keeping connection times that ignore immigration and terminal changes
Replace each with the safer option described above. Your plan becomes calm, credible, and easy to explain. Review case studies from our FAQ for real-world examples.
You do not need a paid ticket. You do need a plan you can describe in one sentence and verify if asked. Hold a live, adjustable itinerary, align it to your I-20 and campus dates, and buy only after approval. That is how you sound prepared, spend wisely, and walk out with less stress.
Frequently Asked Questions
To further assist with your F-1 visa preparation, here are expanded FAQs based on common queries from Indian students. These build on the core advice above, providing actionable insights to refine your strategy.
What if my I-20 dates change after booking a dummy ticket?
Most dummy ticket services, like those from DummyFlights.com, allow unlimited revisions. Update your hold immediately upon receiving the revised I-20, and save the new confirmation email. This ensures alignment and avoids interview hiccups. Always notify your international student advisor of changes for SEVIS updates.
Can I use a dummy ticket for multiple visa applications?
Yes, but tailor it to each application's specifics, such as destination and dates. Reuse the same PNR if timelines overlap, but verify embassy policies—U.S. consulates accept them as provisional proof. For backups, screenshot multiple versions.
How do I handle 221(g) delays with my travel hold?
Recreate the hold weekly to keep it valid, targeting the same arrival window. Document each recreation with emails. This shows ongoing intent without financial loss. Consult our FAQ for 221(g) recovery tips.
Are there student discounts on actual tickets post-visa?
Many airlines offer youth fares for under-26s; check ISIC cards for extras. Book via university portals for negotiated rates. Factor this into your budget ceiling during holds.
What if CBP questions my itinerary at U.S. entry?
Present your stamped visa, I-20, and e-ticket. Explain briefly: "I'm entering for [program] at [university], arriving per my I-20." Have campus contacts ready. Delays are rare but buffers help.
Land Prepared, Not Prepaid
You do not need a paid ticket for an F-1 visa. You do need a plan that holds up under simple questions. Build a verifiable, flexible itinerary that fits your I-20 start, orientation, and housing access. Keep names and dates consistent across every document. Choose clean routings that avoid extra transit visas. Leave buffer time for biometrics, the interview, and passport return.
Hold a live PNR you can show in “Manage Booking,” then buy only after approval. Share arrival details with your department, plan your campus transport, and set a backup for missed connections. That is how you arrive calm, organized, and ready to start strong. Avoid risky PDFs and transit surprises—use our dummy ticket booking for a clean, verifiable plan.
Wrapping up, remember that preparation is your edge. By integrating these steps, you'll not only ace the interview but also ease your transition to U.S. academic life. For ongoing support, visit our About Us page to connect with experts who've guided thousands like you.